Paper Supplies:
Bazzill cardstock in red ans whiteAmerican Crafts Patterned Papers "Rose Lips"
Pebbles Inc. Patterned Papers "Welcome Christmas"
Chipboard
Other Supplies:
Bone folder, pop dots, Baker's twine, assorted brads, polka dot embossing folder,
Instruction:
1. Create card from red Bazzill cardstock measuring 6.5 x 4.5”. Cut the white bazzill to 6.25" x 4.25" and emboss. Do not adhere to card front at this time.
2. Cut six different triangles from chipboard. Cover with different patterned papers.
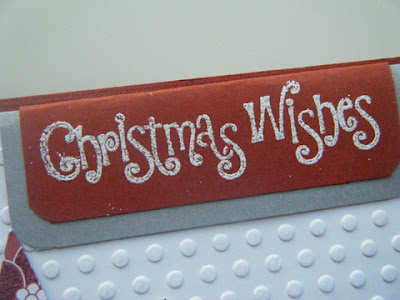
3. Cut two coordinating papers for greeting 3 x 2” (red) and 3.25 x 2.25” (silver). Round the bottom corners. Stamp greeting on red cardstock with embossing ink and emboss with silver embossing powder. Use heat gun to emboss. Mat red cardstock on silver cardstock; fold the top down and adhere to the top right of the white embossed mat.
4. Cut red cardstock mat 4.25" x 2". Adhere to bottom of white mat. Adhere triangles to cardfront to make trees.
5.Tie Baker's twine beneath the trees, punch holes beneath the ribbon, insert brads.
5. Glue card mat down to the front of card.
11. Cut white paper 6.25 x 4.25". Glue to the inside of the card for a handwritten note. Add embellishment to corner.
What a great card idea - sweet and simple! You could make a similar style card using chipboard circles to make snowmen, or squares and triangles to make little houses... maybe hearts for valentines. There is so much versatility with this design - thanks so much to Melinda for sharing this idea with us!


No comments:
Post a Comment